White Oak Floating Shelves
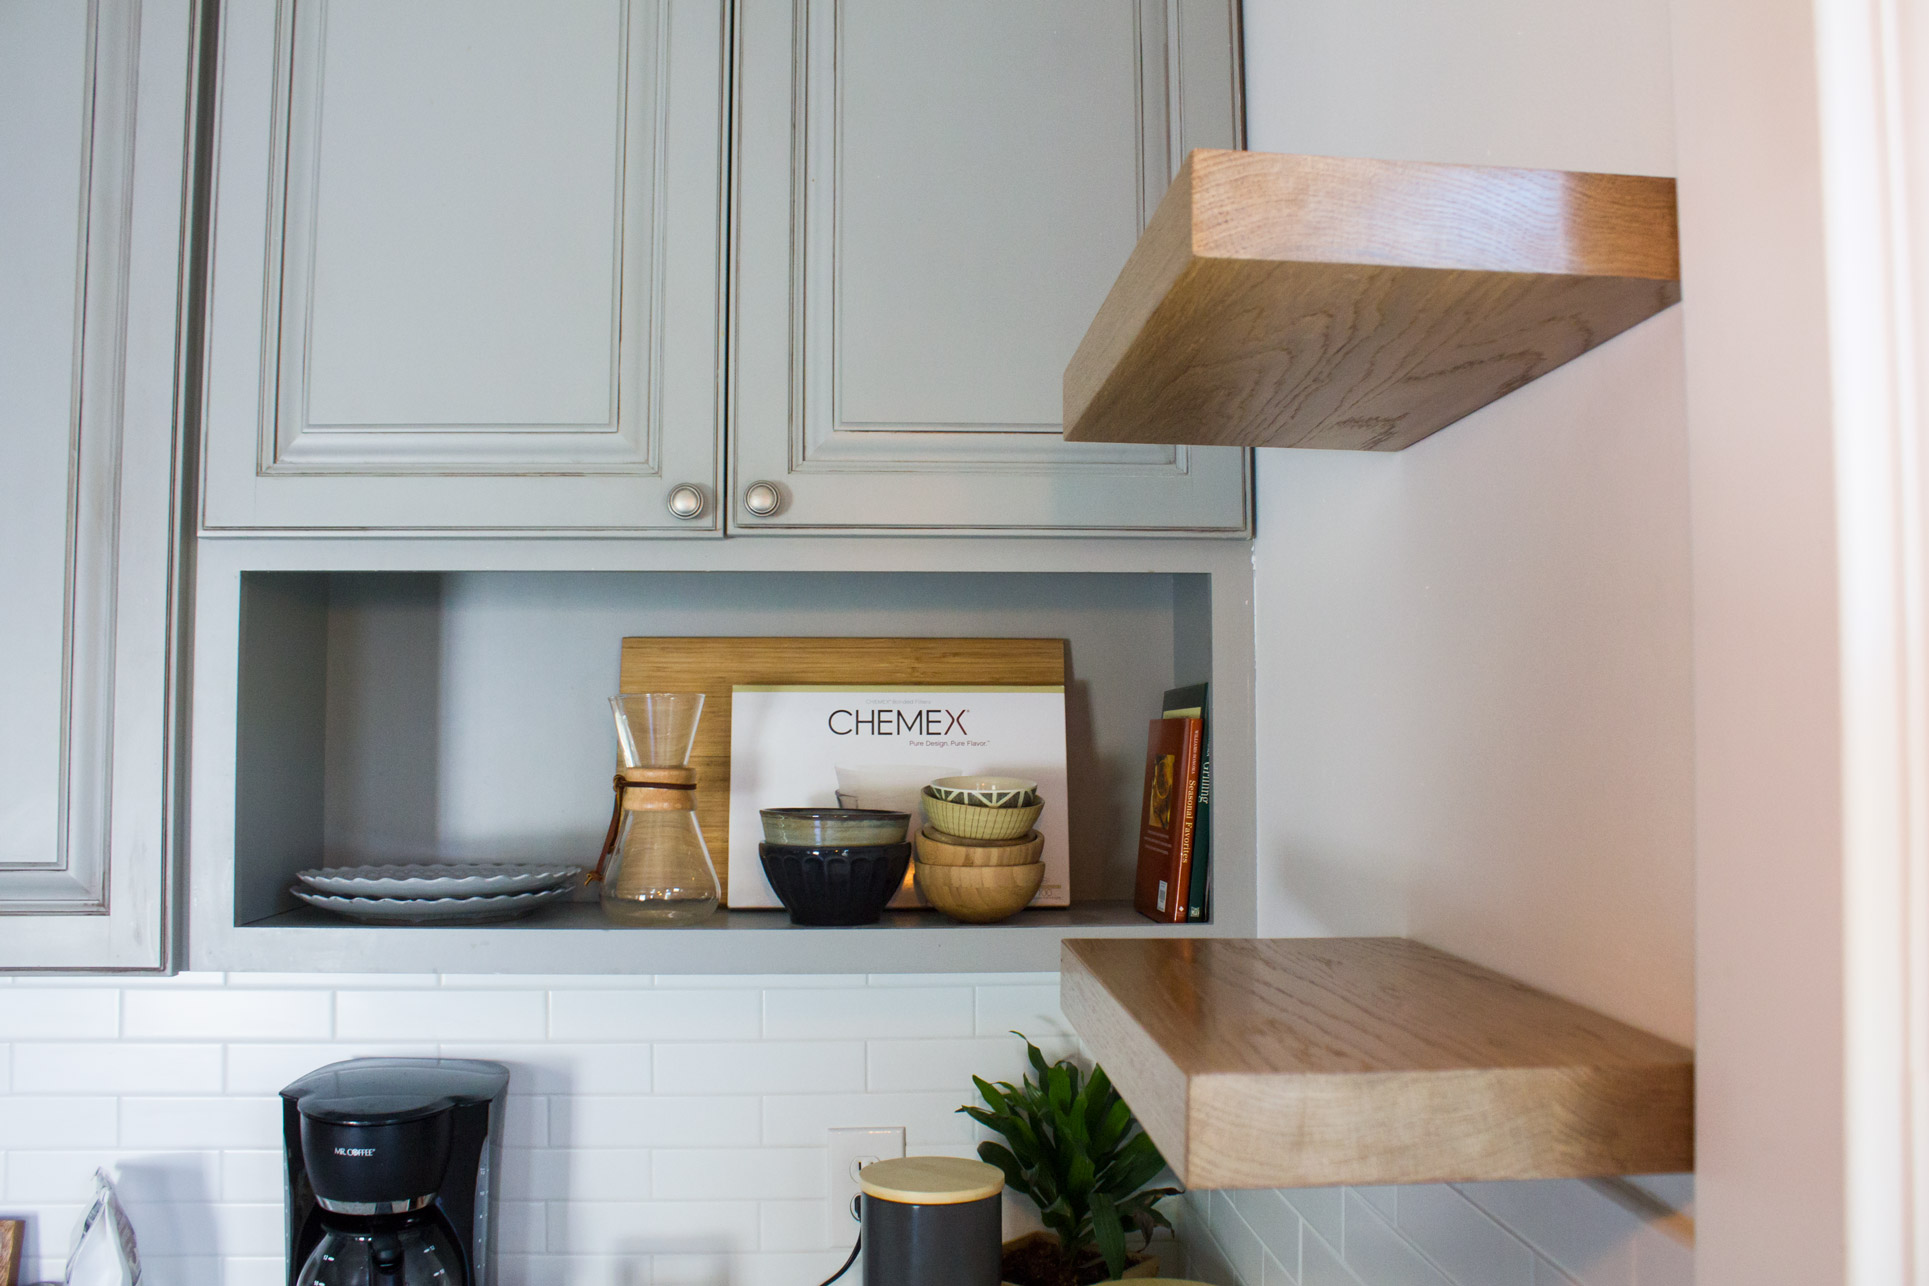
This week I wrapped up some white oak floating shelves for a friend of mine. These turned out beautiful. I absolutely love white oak. To do these I used Rockler's Blind Shelf Supports since they were the absolute cheapest option I could find and I have grown to trust Rockler to provide quality hardware (and after reading many reviews of course :).
The installation is a two part process. The first is getting your layout done in the location the shelves are to be installed. Bring a couple scrap pieces with you that are cut to the length the shelves are intended to be. These are your "Story sticks" and you'll use them to layout the back side of the shelf where the hardware is to be mounted. Here's the steps:
- Find the studs and mark the story stick, label each one and label the sides L + R.
- Once you have your shelves cut to size, use your story sticks to layout where the holes are to be drilled.
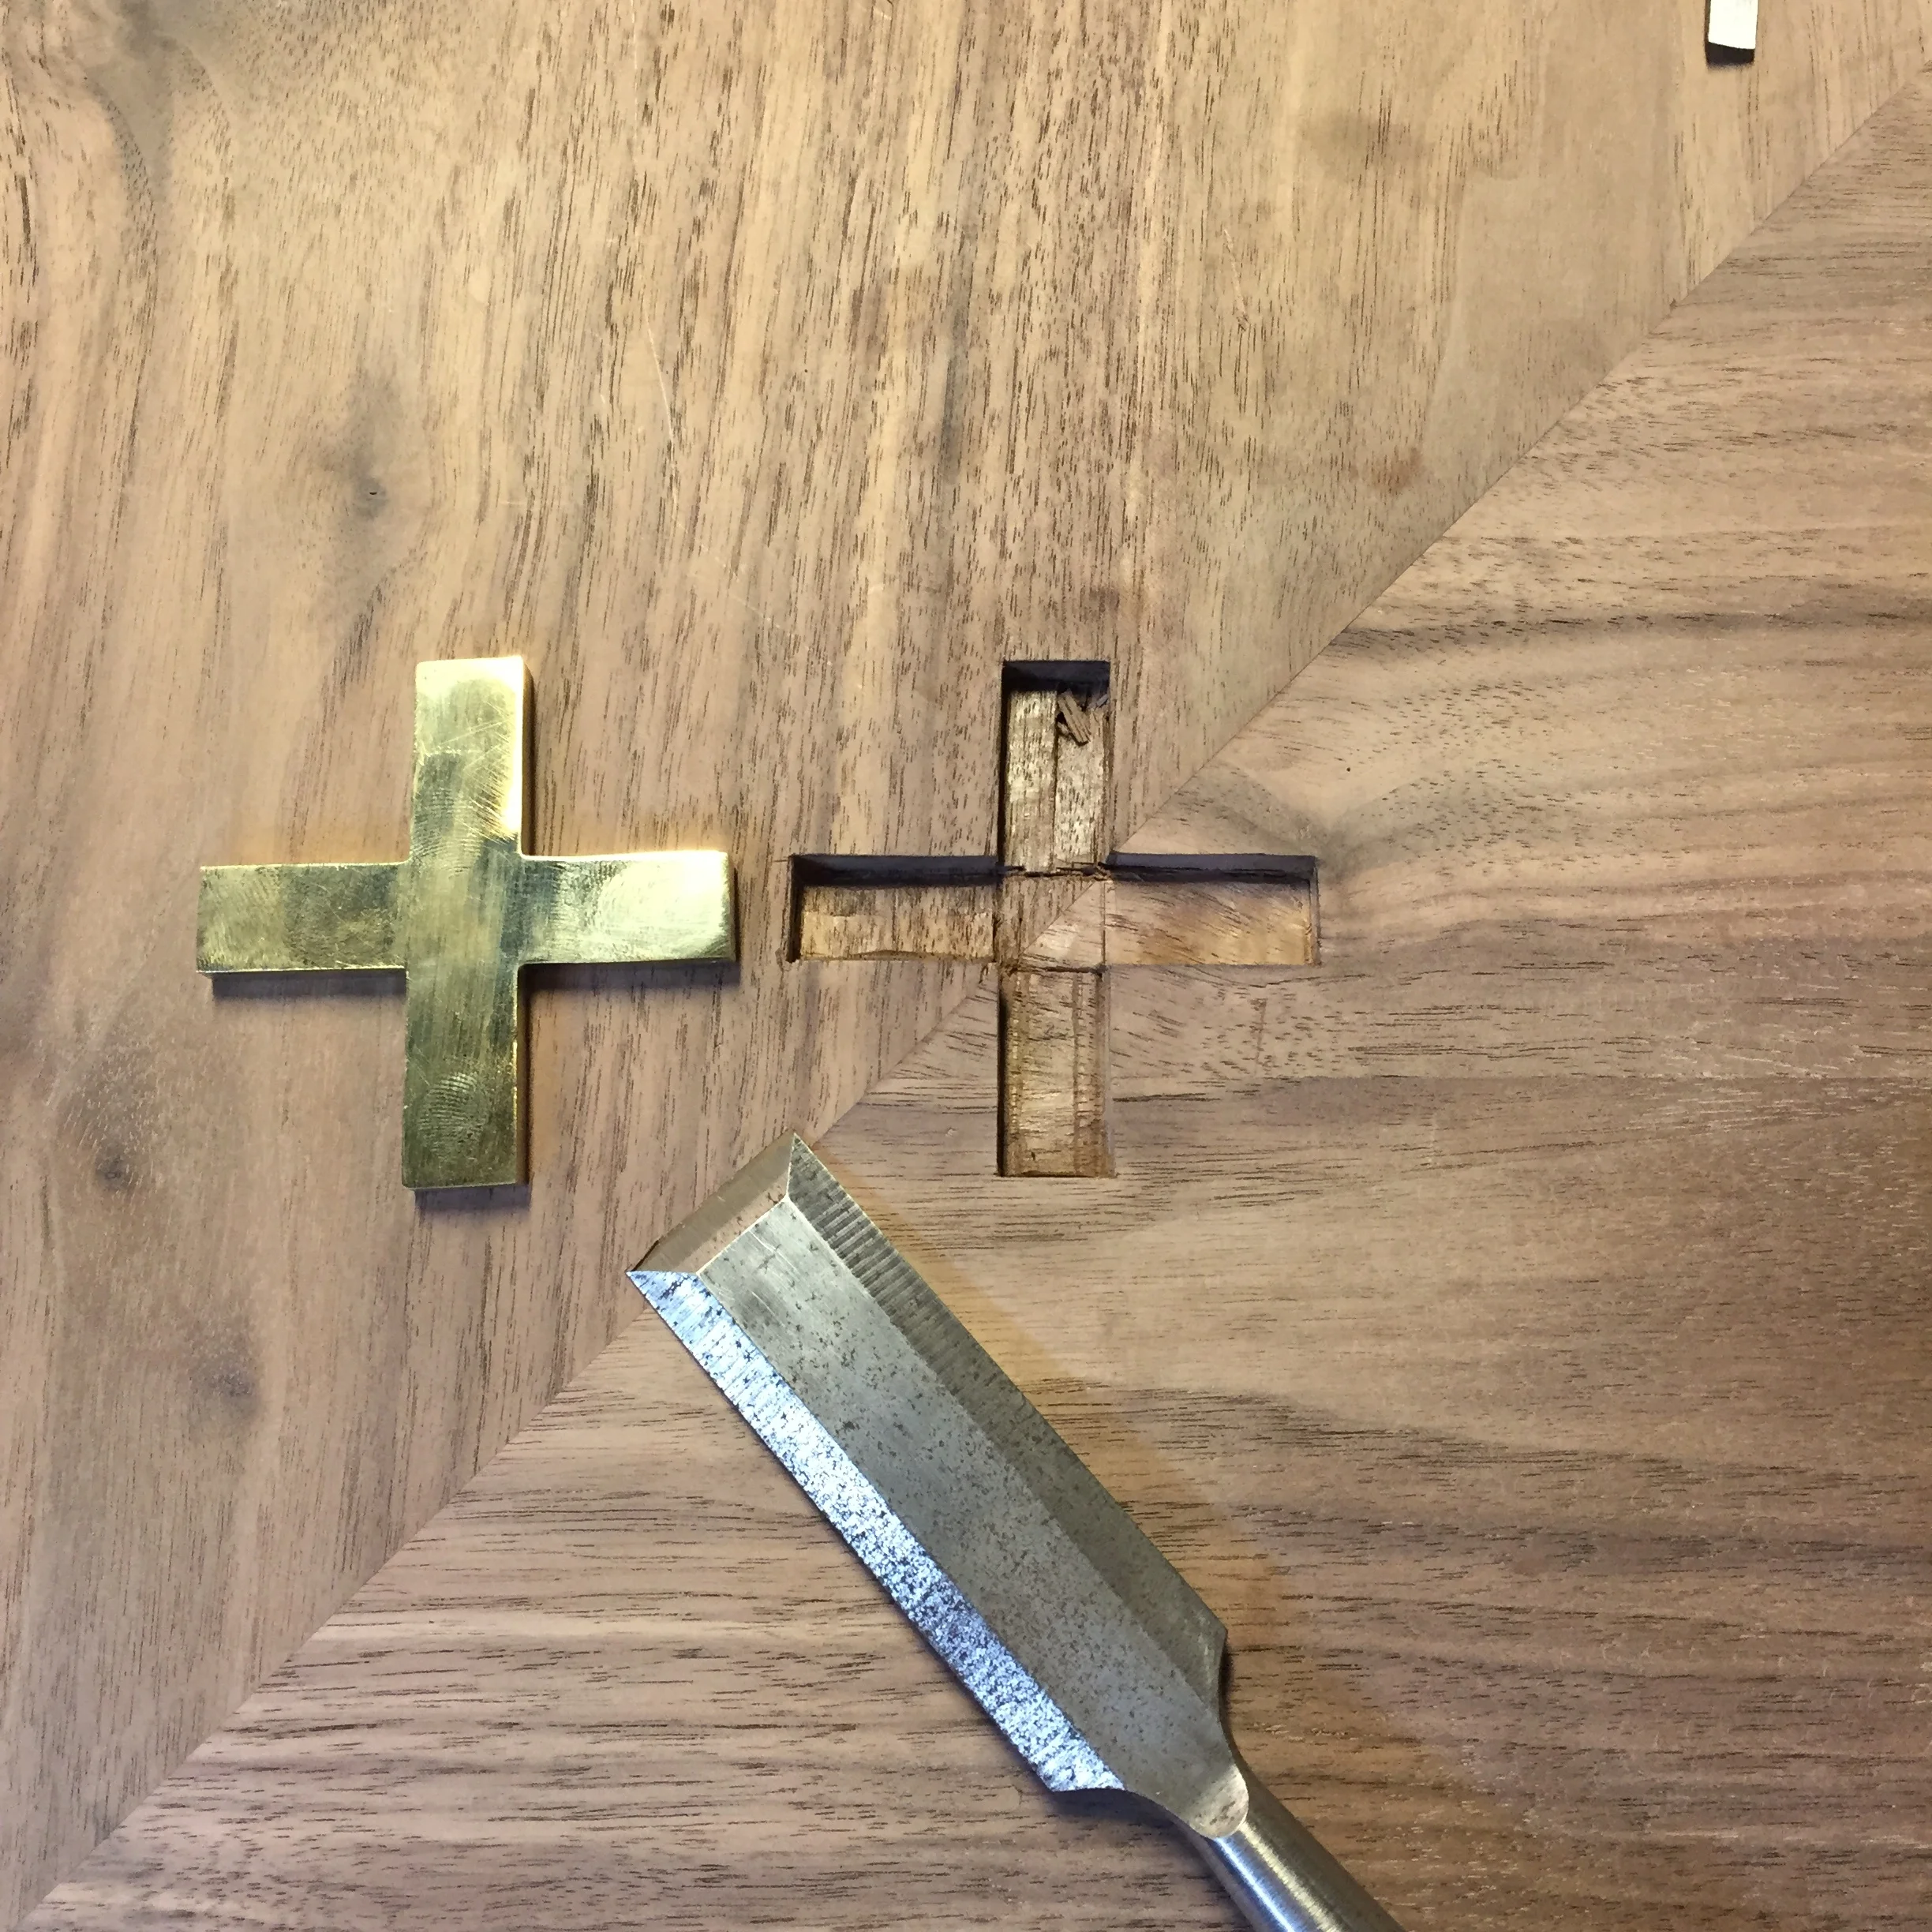
- Drill the hole for the hardware and mortise the bracket in.
- Test fit at the shop.
- Mount the brackets in the locations and screw on the rod. Slide the shelves on the supports.
If some are out of level or drooping downward, I used shims under the brackets to prop them slightly upwards to avoid items sliding off. Once installed I recommend sealing edges with caulking to further ensure they don't slide off. It also makes for a cleaner appearance and it's easier to clean.
I finished these with Minwax Wipe-on Satin Poly for a durable, low luster finish suitable for kitchen use.
