How To Install Dovetail Keys

Installing Dovetail Keys
The perfect fit, every time.
Continuing from my last post about how to make dovetail keys, this post will cover my process on installing the keys for a perfect fit every time.
Step One - Layout
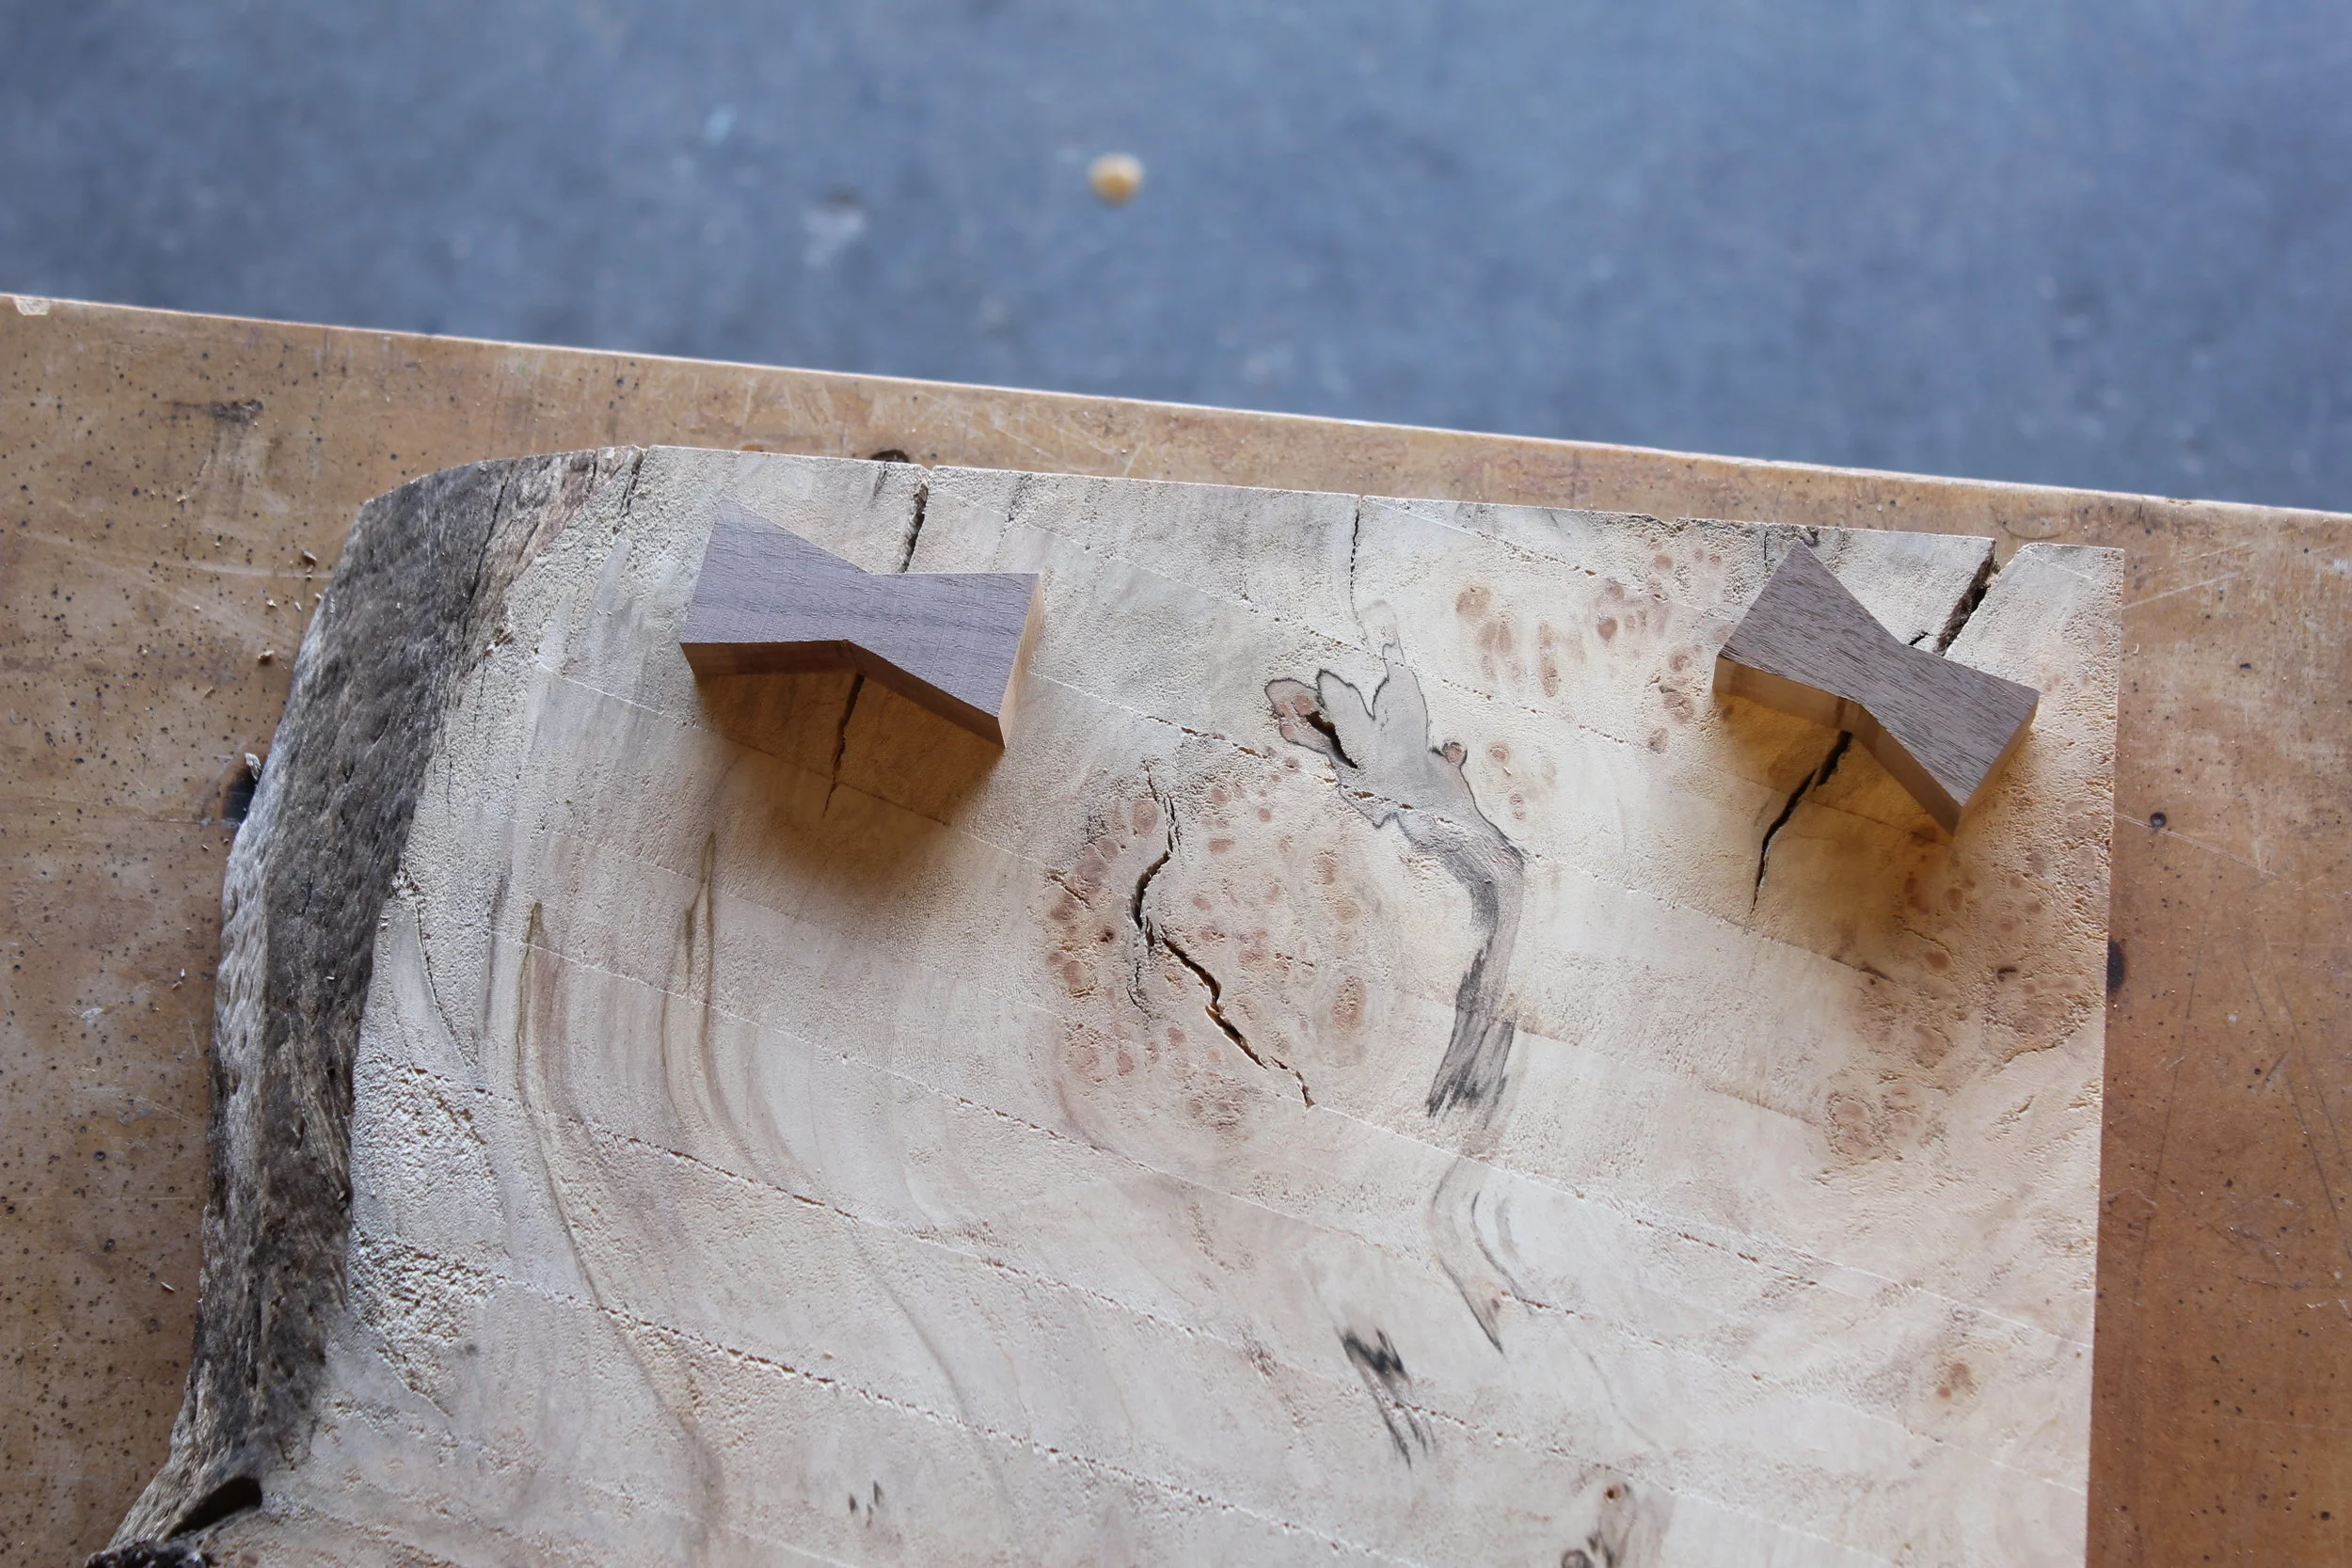
I try not to use too many keys on a piece, sometimes they can be intrusive. Depending on the severity of the crack I'll add one or leave it as is. The cracks pictured above in this slab go all the way through so these took priority. But its all personal preference here, just go with what looks right to you.
Since I had two cracks I wanted to get a matching pair of keys, so I split them in two at the bandsaw by re-sawing. This will give you a near identical pair, a detail I like to consider when symmetry is relevant like in the case of this slab. After re-sawing them, I clean them up with the disc sander and a sanding block.

With the key in place, I mark one side for reference and attach it with double stick tape. I use these little pre-cut squares from Staples that work perfectly. Then its on to marking.


Step Two - Marking & Chopping
With the key secured by the tape underneath, I take a marking knife and trace the edges. I then remove the key and with the edge of the chisel, lightly tap straight down to accentuate my knife line.


Step Three - Routing & Clean up
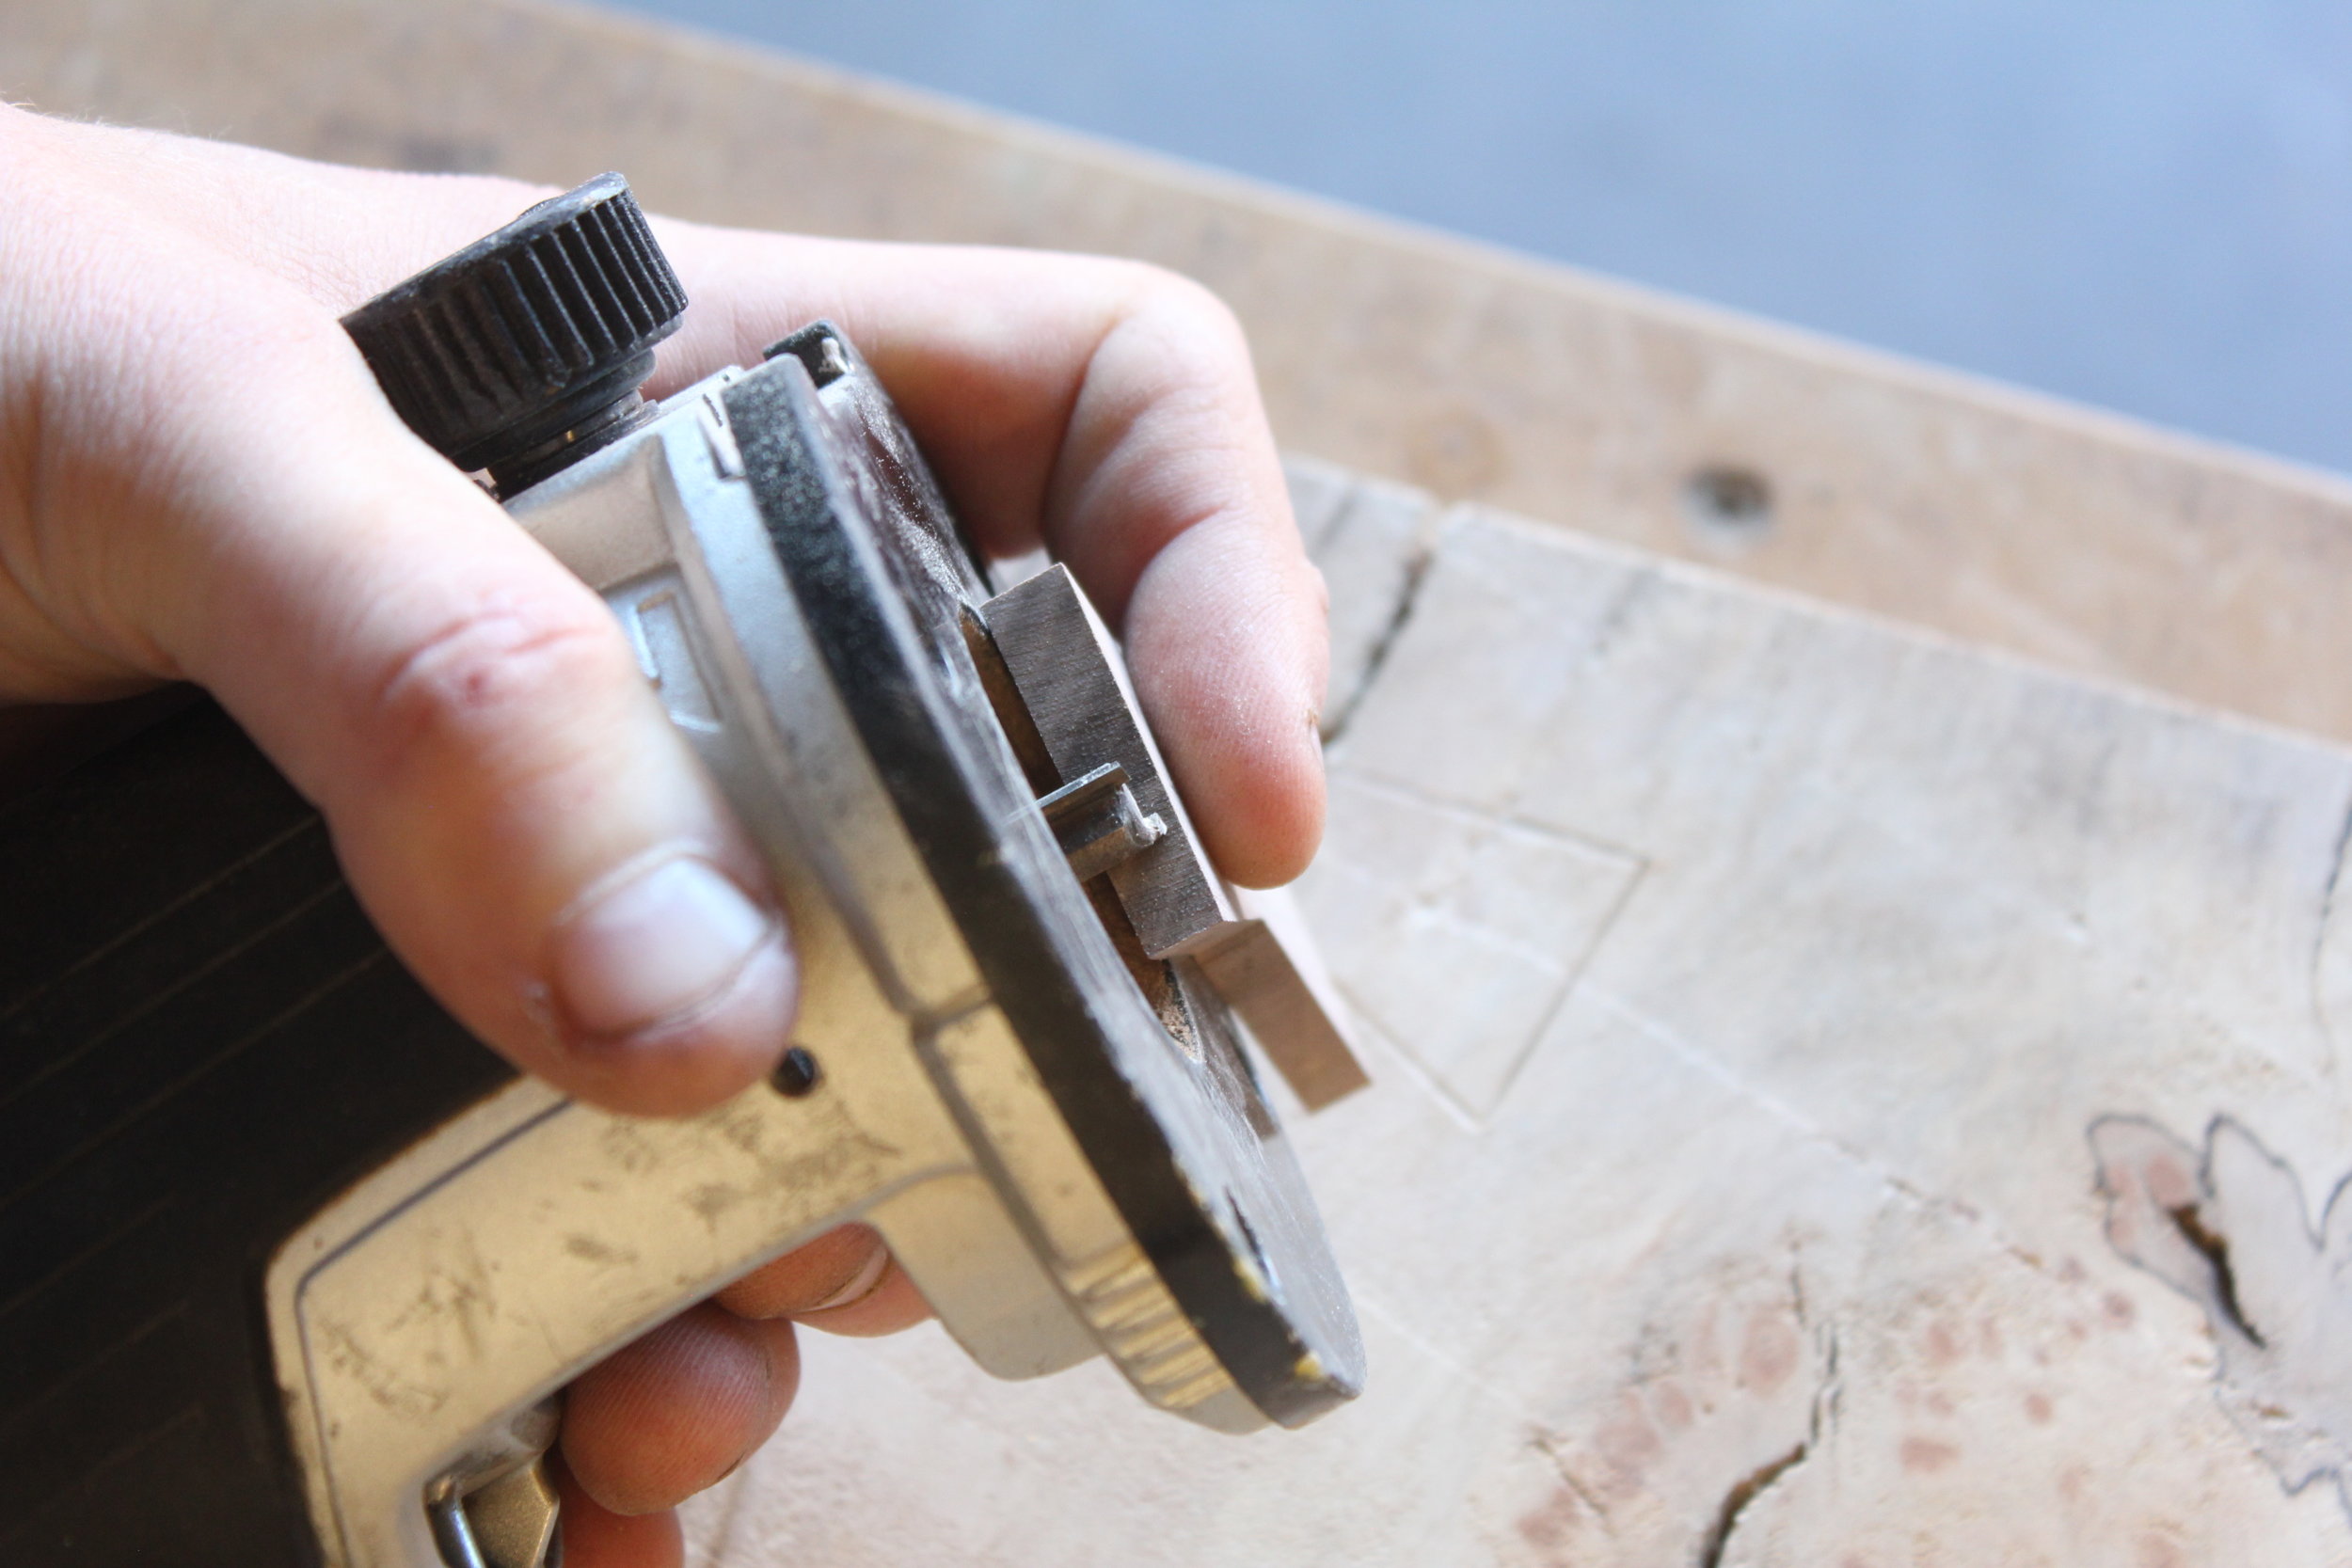
Using a trim router I set the depth to just a hair shy of the key itself, you need to leave about 1/8" - 1/16" to remove at the end.
I dip one side in carefully until the router sits flat and work one side to the other being careful not to go past my chisel line. I usually leave 1/16" here that I clean up with chisels after.


Step Four - Install & Finish
After cleaning up the excess, I test fit the key and pare away anything I need to. I'll even pare away a little off the key if it's easier that way. When it looks like it will go in I use a chisel to bevel the underside of the key at about a 45˚ angle. This helps to install the key and creates a reservoir for the glue. I bevel ALL sides, even the corners, but never touch the top of the key.
I apply glue in the hole and the key and lightly tap with a mallet or hammer until I hear it reach the bottom. After that I clean up the excess glue and wait for it to dry for about 15-20 minutes.
Using a block plane, I plane away the excess key until flush. Then a little sanding and it's done.


Troubleshooting
If I have gaps, I can fill them by making a tiny shim with a scrap piece of the same wood, or sanding the piece and getting enough sawdust to create a wood filler. I apply a little super glue and fill it in with the dust. Voila.