Cookie Slab Table Process 2
My dust collector is in the shop getting some bearings replaced so I couldn't start my next project. So I came back to the English Walnut cookies I've been working on for some time now and I decided to try something different and challenging for the base using hand cut joinery.
Originally I wanted to make three identical steel bases for these slabs but after working on each one for awhile, I found each one has it's own personality so I wanted to make them more unique.
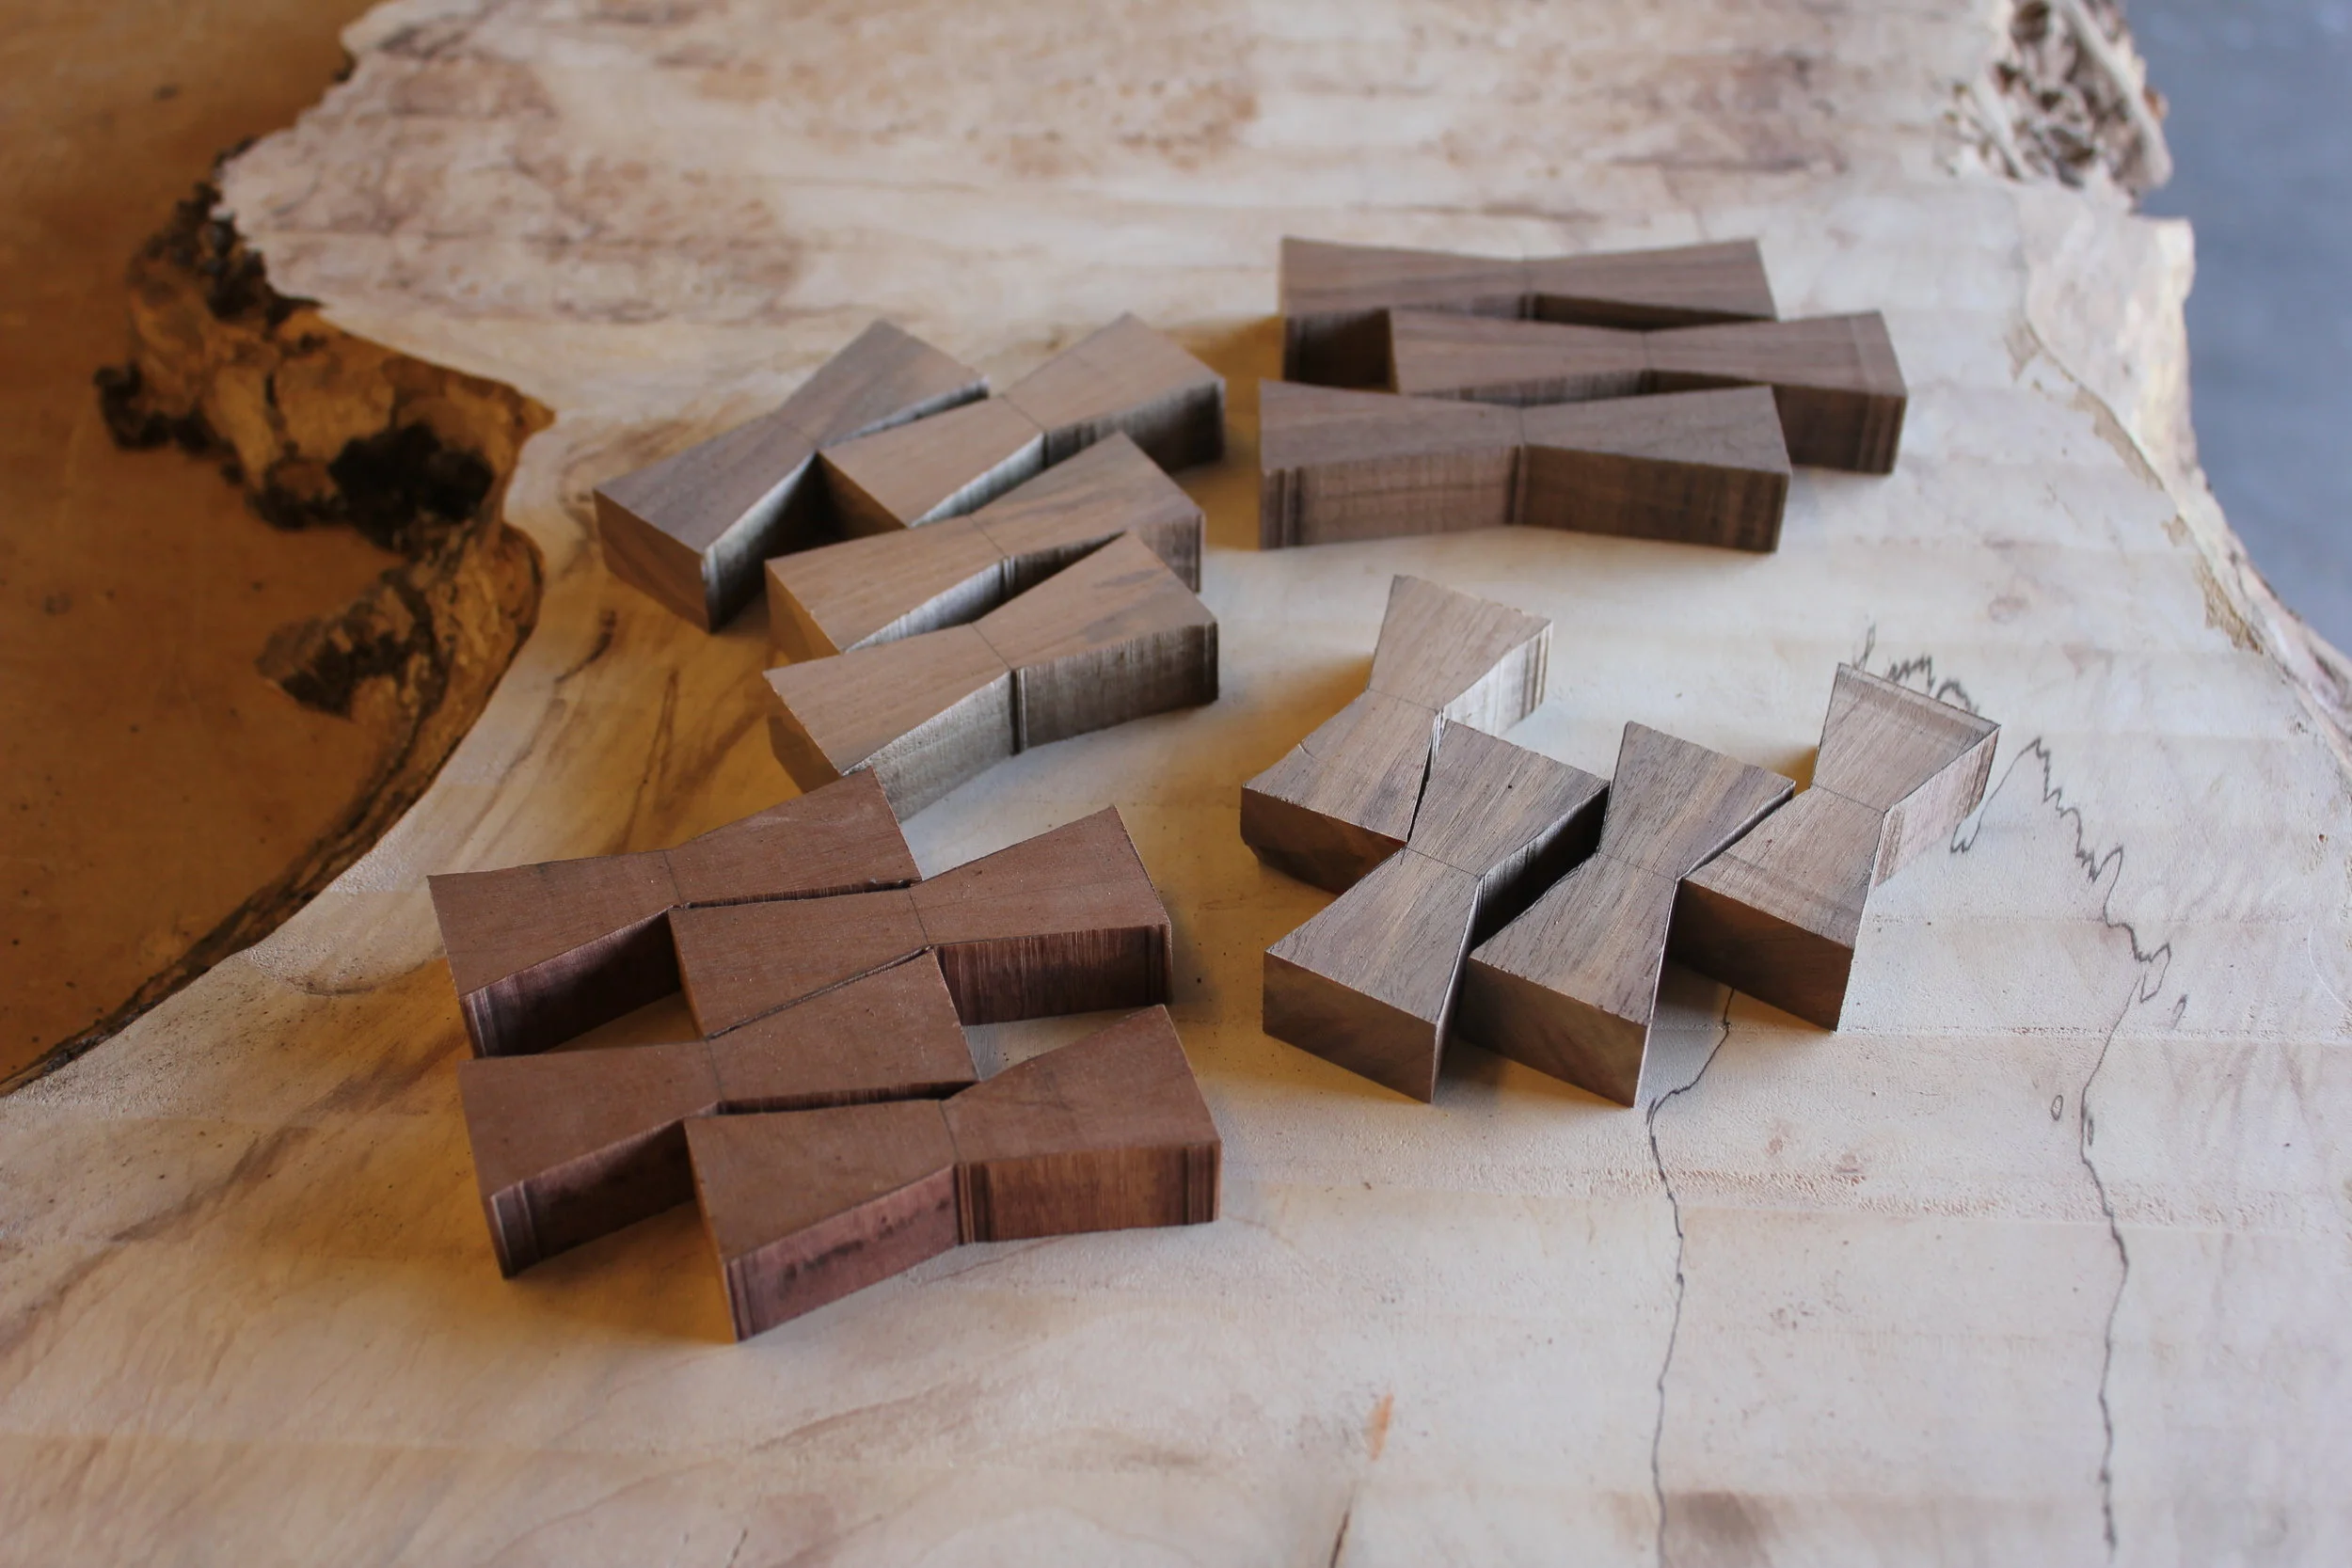
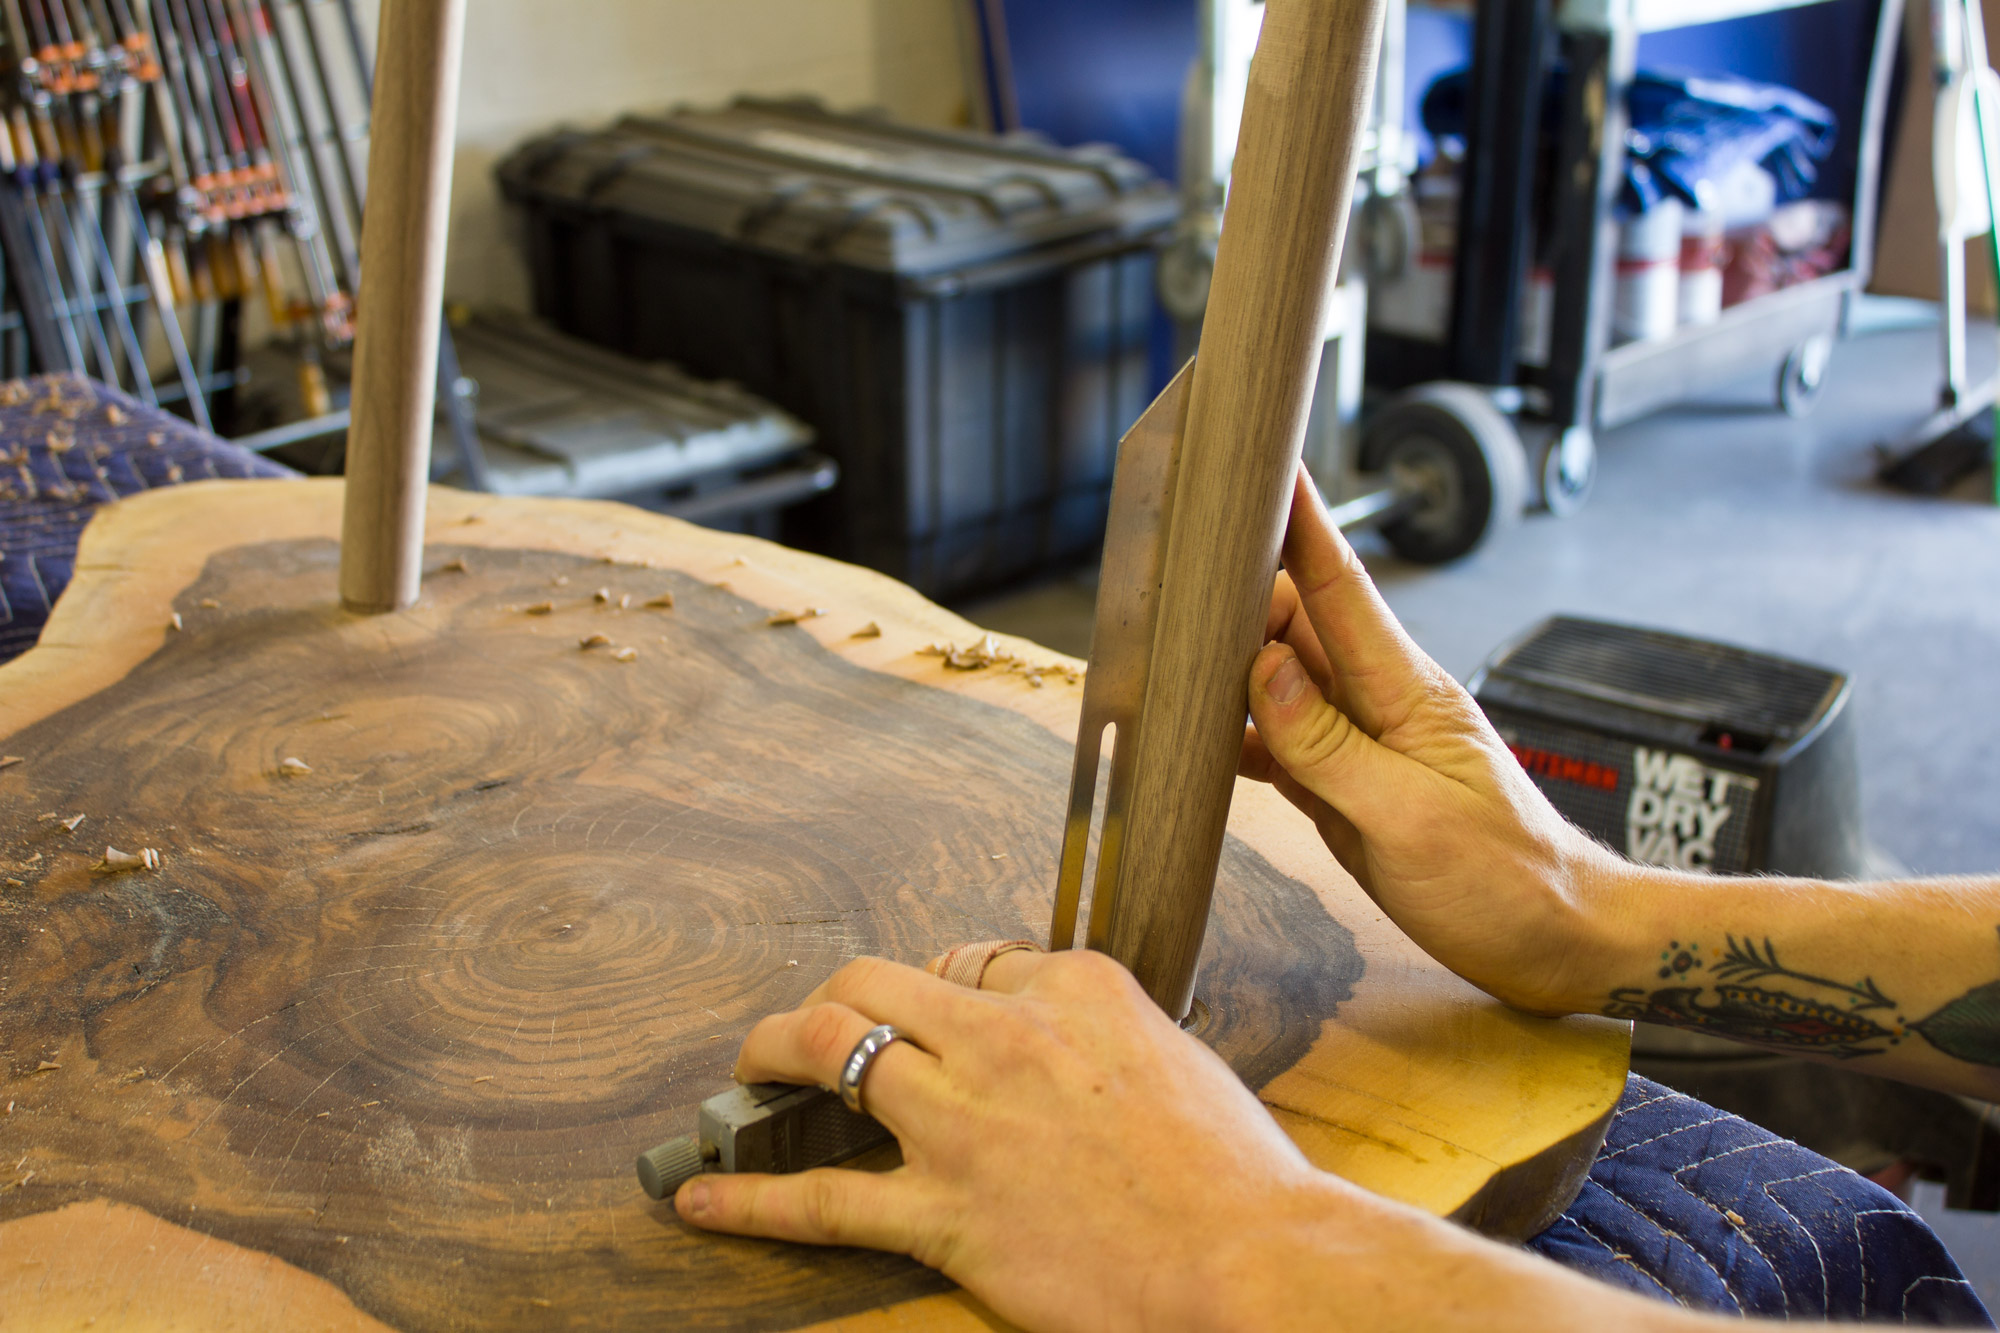
I found an old ratchet brace in my dad's antique tool collection (another tool I rescued from his antique collection) and used a Veritas® Pro Taper Reamer in conjunction with their Tapered Tenon Cutter to make the joints. Cutting these by hand was a pleasant change to spinning blades and loud machines.
Setting the 13˚ angle on the back legs.

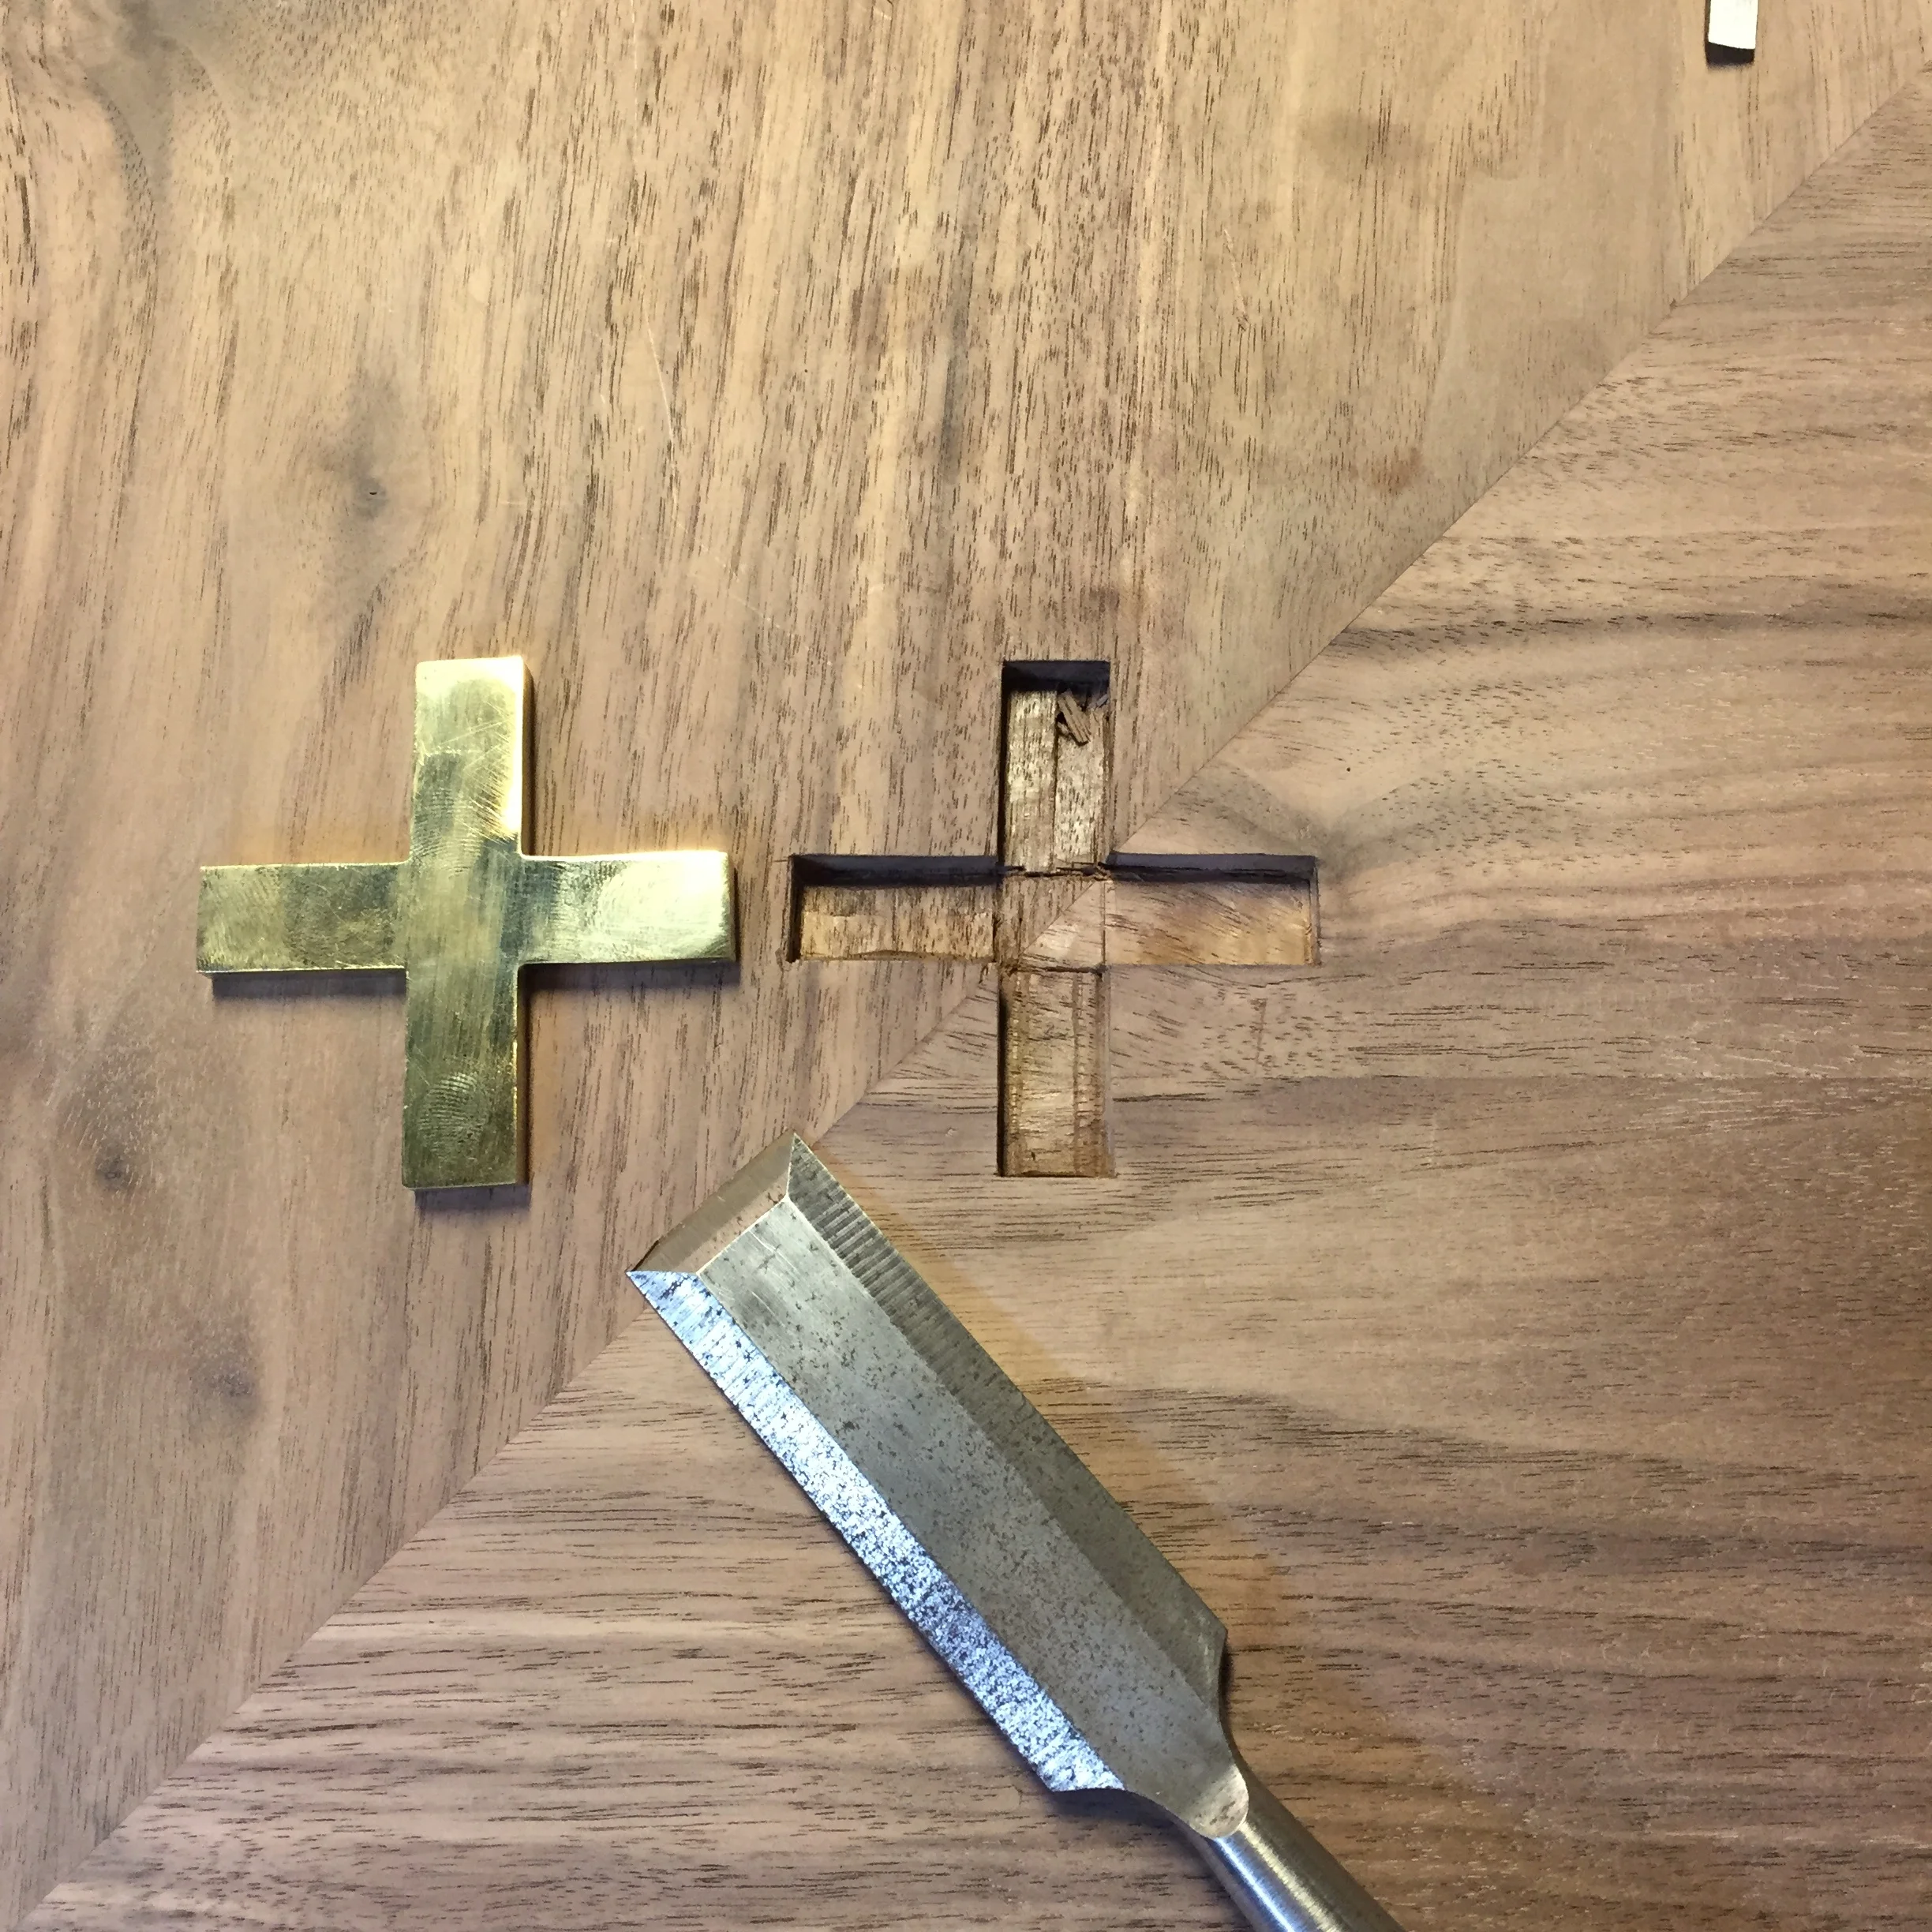
Wedged through tennon with maple
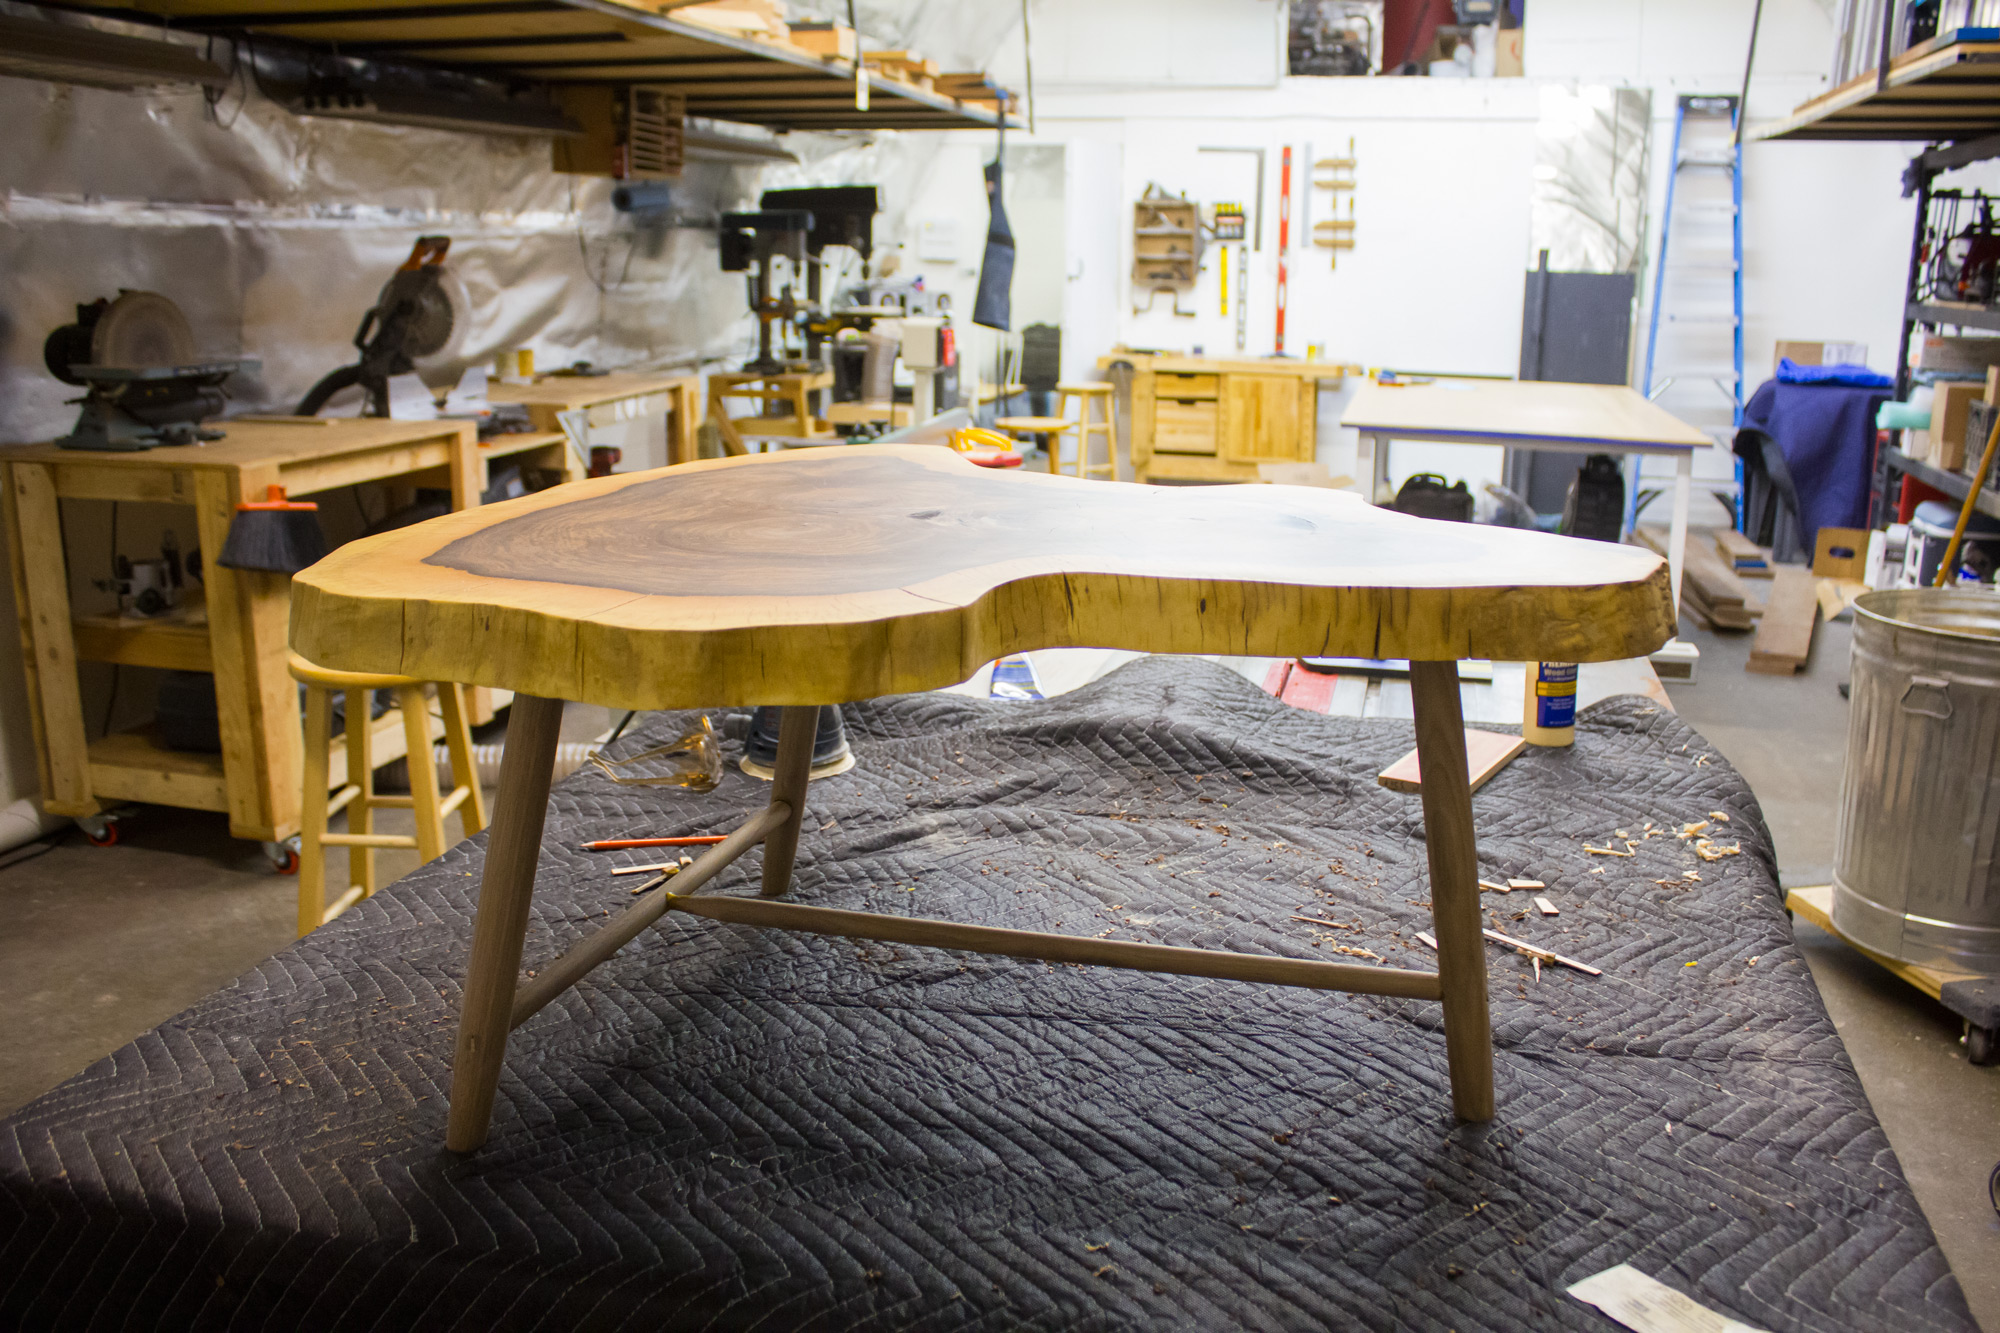
Rough frame assembled and glued up
See the original slabs here